How to use react environment variables: The complete guide
Learn how to use react environment variables in development and production environments with Kubernetes and docker compose examples.

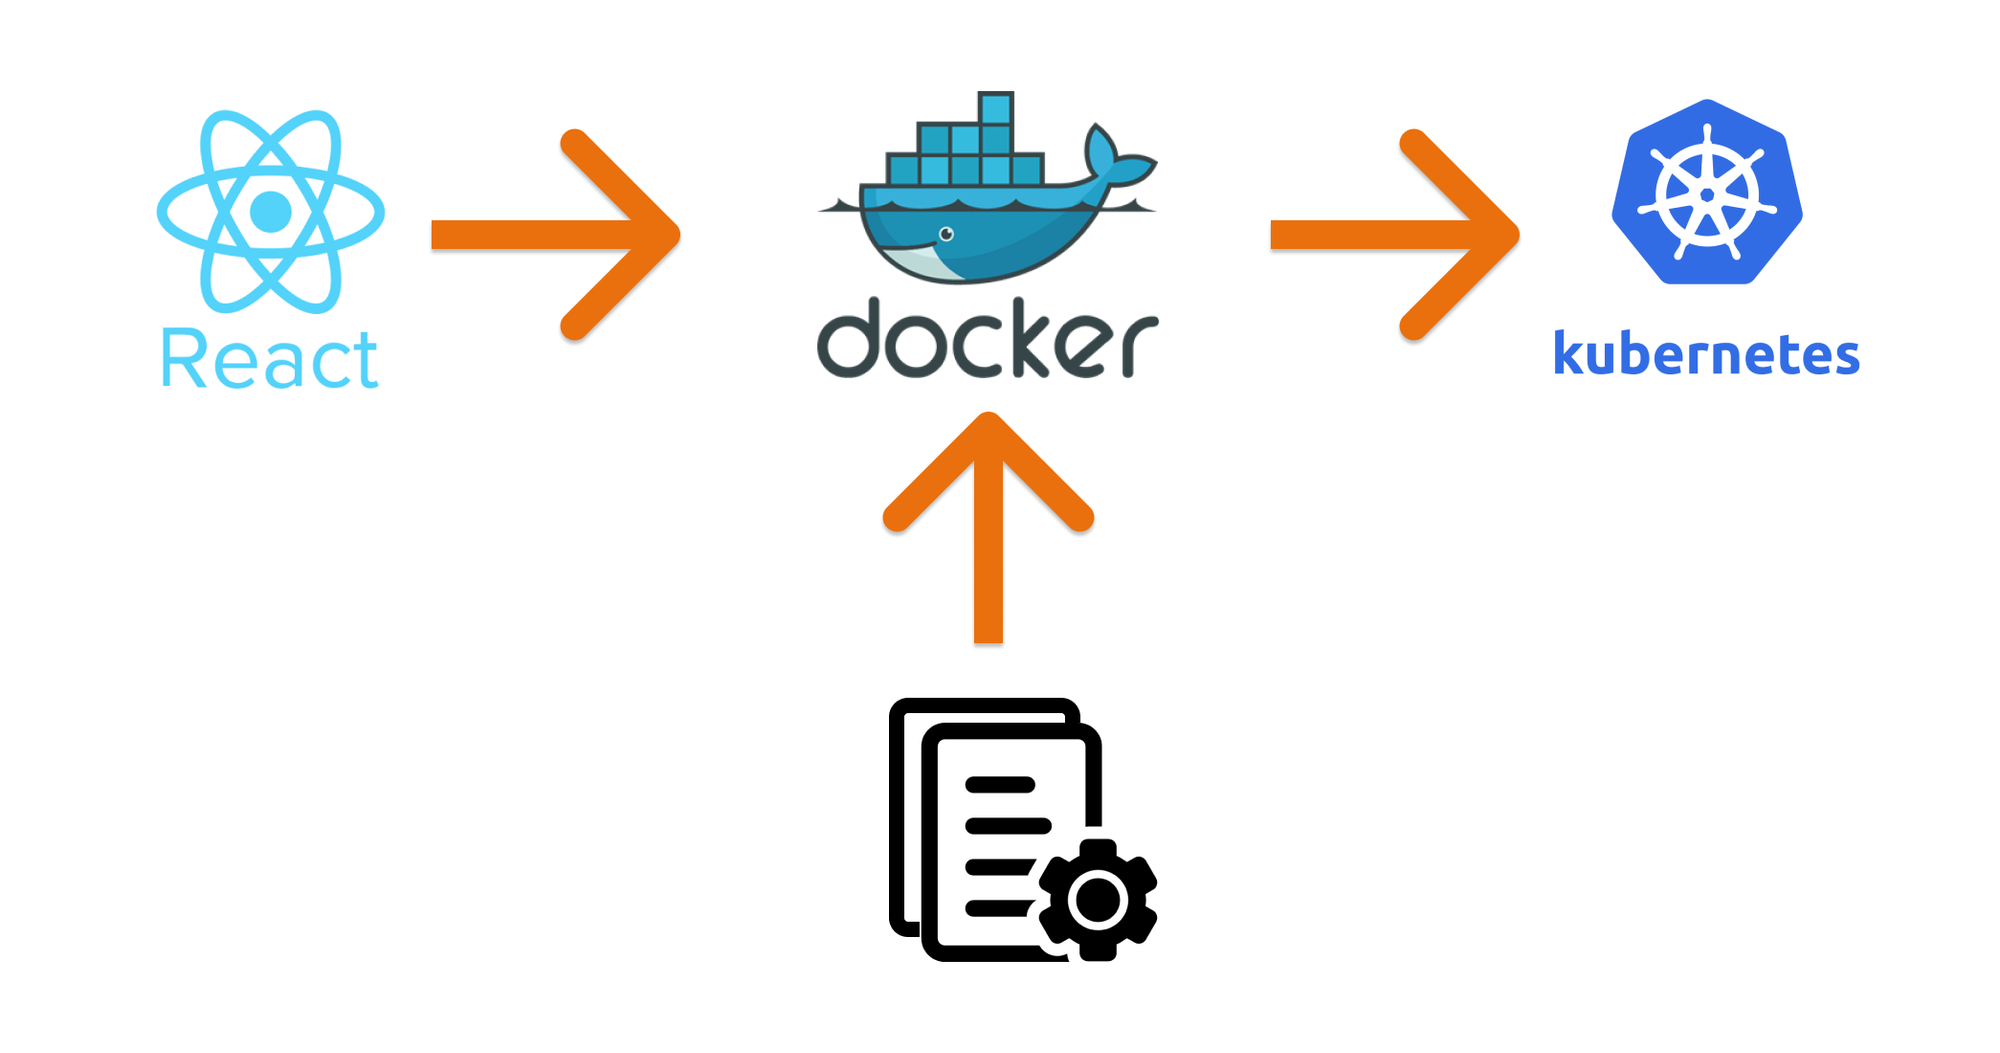
In this post I'd like to share my approach on building React containers that are configurable at deployment time.
While building FloodRunner, I ran into an interesting problem where I wanted to publish a react container for the front-end of FloodRunner but I needed customers to be able to easily specify their own parameters when deploying the container.
There is quite a lot of information on using environment variables with React but most of these deal with build-time configuration, so the container would be built with a specific configuration and every time you wanted to apply a new configuration you would have to rebuild the container. This is less than desirable and so I needed to find a different approach.
The approach I have taken is to serve a config.js file along with the React app that contains the environment/customer specific variables. This file can then be replaced during deployment making the container environment aware. I'll walk you through how to setup this config file and then how to deploy it using docker-compose and Kubernetes.
TL;DR Here is the GitHub Repository showing a sample React project that is environment aware
 javaadpatel
Creating the React app with Configuration
We'll start with a blank React app and will be using TypeScript. First create the project using
npx create-react-app my-app --template typescriptonce created, start the app in development mode using
npm run start
Then create a file called config.js in the public folder of your project and paste in the following code
window.API_URL = "api.development.com"This will represent our environment variable that we want to change at deployment time. You can use any variable name here as long as you have it as a property of the window object.
Then in your index.html add the following line to the <head> element
<script src="%PUBLIC_URL%/config.js"></script>This will ensure that the configuration file is loaded along with the application.
Now we're ready to consume the environment variable, so we can create a helper class to make this cleaner. Create a file called config.ts in your src folder and paste in the following code
const envSettings = window as any;
export class Config {
  static api_url = envSettings.API_URL;
}
Then in your App.tsx file you can use the variable
API URL: {Config.api_url}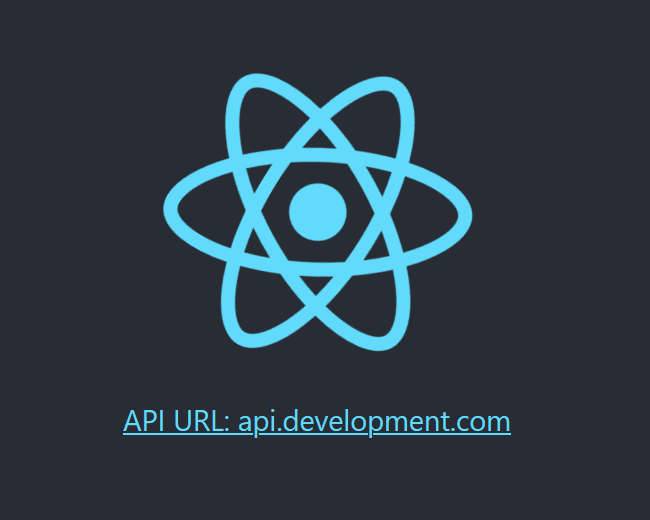
This now forms the basis of our configurable React application and we can move on to creating the docker container.
Creating the React container
We'll be creating the Docker container and using Nginx as the web server. Create a file called Dockerfile in your root directory and paste in the following
FROM node:alpine as builder
WORKDIR '/app'
COPY ./package.json ./
RUN npm install
COPY . .
RUN npm run build

FROM nginx
EXPOSE 3000
COPY ./nginx/default.conf /etc/nginx/conf.d/default.conf
COPY --from=builder /app/build /usr/share/nginx/html
In this Docker file we are taking advantage of Docker's multi-stage build in order to build the React app and then copying its contents over into our Nginx image. We also specify a default.conf file to setup our Nginx server and so need to create this file in our project. Create a directory named nginx and then a file default.conf in this directory and then paste in the following
server {
  listen 3000;

  location / {
    root /usr/share/nginx/html;
    index index.html index.htm;
    try_files $uri $uri/ /index.html;
  }
}
This tells our Nginx container where the application files will be placed and also tells it to listen on port 3000 which is the same port we exposed in our Dockerfile.
Now we can build the container using
docker build -t react-container .This will build our container and tag it with the name react-container. We can then run the container using
docker run -p 3000:3000 react-containerThis will start our react app on port 3000 and we can check that its working by going to http://localhost:3000.
Deploying using Docker-Compose and Kubernetes
Now we have a useable react container and our next step is seeing how we can deploy this using docker-compose or Kubernetes. I've decided to walk through both approaches as sometimes you won't be using a full-scale Kubernetes environment but instead just running docker-compose.
Docker-Compose deployment
Create a docker-compose.yml file in your root directory and paste the following
version: "3"
services:
  web:
    build:
      context: .
    ports:
      - "3000:3000"
    volumes:
      - ./config-production.js:/usr/share/nginx/html/config.js
NB. Ensure that this file is located at the same level as your Dockerfile, otherwise you will have to edit the build options of the docker-compose file.
This docker compose file maps the port 3000 on your localhost to the container port 3000 and it also replaces the config file ensuring that we use the new values specified. You need to create a config-production.js file and paste the following
window.API_URL = "api.production.com";
Then we can run docker-compose up and navigate to localhost:3000 and see our new configuration in effect.

Kubernetes deployment
We'll be deploying to our local Kubernetes cluster but the same would apply for a production cluster (aside from the NodePort service). There are three main aspects of the Kubernetes deployment:
1) Service - This allows Kubernetes to locate the React application and route traffic to it
2) Config Map - This will hold our environment specific configuration
3) Deployment - This specifies how to deploy the React application and in what configuration (image, pods, etc) to run it in
1) Creating the service
To get started, create a folder named k8s in your root directory. Then create a file named web-service.yml and paste the following
apiVersion: v1
kind: Service
metadata:
    name: web-service
spec:
    type: NodePort
    selector:
        component: web
    ports:
        - port: 80 #port to receive traffic on
          targetPort: 3000 #port that container is listening on
          nodePort: 30000 #exposes this via localhost port 30000 (DO NOT USE IN PRODUCTION)
This will create a Kubernetes service that routes traffic to your react container making it accessible via localhost:30000. In this example we use a NodePort service for local development, but in a production environment we would use a ClusterIP instead and then expose it via a reverse-proxy such as Traefik. You can learn how to deploy Traefik in your production environment here.
2) Creating the ConfigMap
ConfigMap's allow us to easily group our configuration settings in a single file. Create a file named web-configmap.ymland then paste the following
apiVersion: v1
kind: ConfigMap
metadata:
    name: web-config
data:
    web.properties: |
        window.API_URL= "api.kubernetes.com"
In this file we specify our environment variable that we've been using.
3) Creating the deployment
Next we create the Kubernetes deployment. Create a file named web-deployment.yml and paste the following
apiVersion: apps/v1
kind: Deployment
metadata:
    name: web-deployment
spec:
    replicas: 1
    selector:
        matchLabels:
            component: web
    template:
        metadata:
            labels:
                component: web
        spec:
            containers:
                - name: web
                  image: react-container
                  imagePullPolicy: Never #used for getting it to pull local images
                  ports:
                      - containerPort: 3000
                  volumeMounts:
                      #override config.js file
                      - name: config
                        mountPath: "/usr/share/nginx/html/config.js"
                        subPath: "config.js"
            terminationGracePeriodSeconds: 10
            volumes:
                - name: config
                  configMap:
                      name: web-config
                      items:
                          - key: "web.properties"
                            path: "config.js"
This deployment file specifies the image to pull (react-container) and then also mounts the ConfigMap to replace the config.js file in our container.
We can then deploy the Kubernetes configuration files using kubectl apply ./k8s this will apply all our configuration files in the k8s directory. When we navigate to localhost:30000 we should then see this
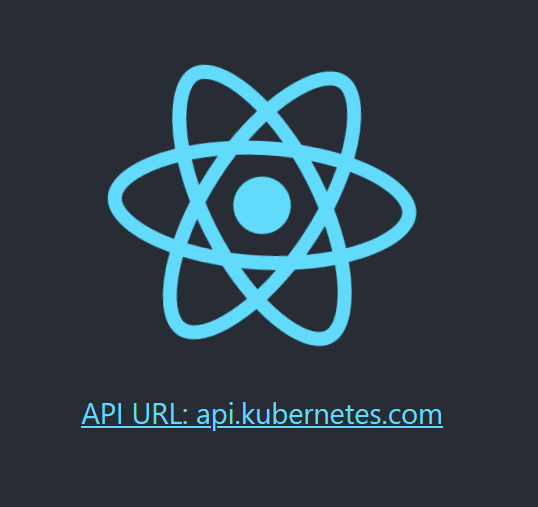
And with that our Kubernetes deployment is complete.
Where to from here?
As with everything in React, this is not the only approach but I hope that this post has been of help in understanding one way to tackle this problem and gives you a complete guide on how to go from local development to production.
Now that you have a fully configurable React container, you'll be able to deploy multiple instances of it each only differing in the configuration passed through or distribute container images to your customers 💻.
Leave me a comment if this has helped you or if you have ideas on how this approach can be enhanced.