Continuous monitoring using Flood Element and Azure DevOps
Monitoring production systems using Flood Element - a browser level testing framework
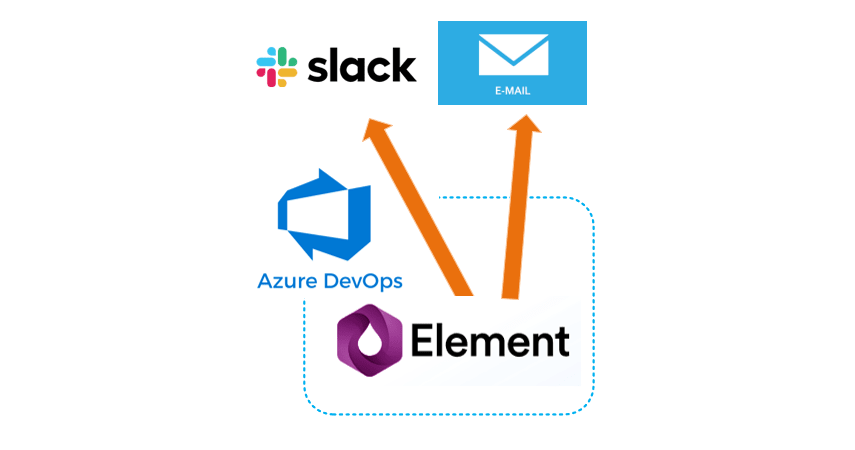
Lets face it, running systems in production is hard. There’s always the threat of a potential bug causing system down-time or unexpected load causing the system to grind to a halt. That’s why now more than ever, continuous monitoring of production systems is so critical. I’m a definite believer in shift-left testing, but there are scenarios where simulating an actual users’ behaviour in the system and monitoring the success of those actions is important. This is where functional testing at the browser level comes into play. Generally, you only want to write functional tests for scenarios that are business critical such as simulating user checkout on an online store, as these tests tend to be resource intensive.
In this article I’ll explain how to setup scheduled functional tests using Flood Element and Azure DevOps, and then monitor the success of those tests with email or Slack notifications.
If you’d just like the code for setting up the Azure DevOps pipeline with a sample Flood Element test, here is the GitHub repository for this article.
Update (13/08/2020) : You can now achieve the same result using FloodRunner, an open-source framework specifically designed for running Flood Element and Puppeteer tests. Checkout: https://floodrunner.dev
Flood Element for functional testing
Functional testing can be broadly split into protocol level testing and browser level testing. Protocol level testing focuses on non-UI related scenarios like hitting API’s, whereas browser testing focuses specifically on simulating actual users.
There are an array of browser level testing frameworks, one of the most popular being Selenium, but while Selenium offers all the functionality you’d need it also comes with a significant resource consumption price. That’s where Flood Element shines - it’s purpose built for browser level load testing and significantly enhances the concurrency of tests. The framework is based on Puppeteer and tests are written in TypeScript with a nearly identical syntax to Selenium. An additional advantage of the Flood Element framework is that it is built by Flood, a load testing service, and integrates seamlessly, allowing you to take your functional tests and easily use them for load testing scenarios.
Here is what a simple test in Flood Element looks like:
import { step, TestSettings, Until, By, Device } from "@flood/element";
import * as assert from "assert";

export const settings: TestSettings = {
  device: Device.iPadLandscape,
  userAgent:
    "Mozilla/5.0 (Macintosh; Intel Mac OS X 10_13_6) AppleWebKit/537.36 (KHTML, like Gecko) Chrome/80.0.3987.149 Safari/537.36",
  clearCache: true,
  disableCache: true,
  clearCookies: true,
  waitTimeout: 30,
  screenshotOnFailure: true,
  extraHTTPHeaders: {
    "Accept-Language": "en",
  },
};

/**
 * Random Test
 * @version 1.0
 */
//element run test.ts --no-headless
export default () => {
  step("Test: Random Site Navigation Login", async (browser) => {
    //visit random website
    await browser.visit("https://google.com");

    //take screenshot of final page shown
    await browser.takeScreenshot();
  });
};
This test can be run using the Flood Element CLI using the command element run <testName>.ts --no-headless . This will execute the test and display the browser so you can visually inspect the test execution steps.
In this article I’ll focus on automating and monitoring a test and not the specifics on how to write tests. If you want to learn more about writing tests, the Flood Element documentation is really helpful and provides useful examples.
Automating and scheduling tests using Azure DevOps
Now that we have a simple test to use for our monitoring, we can setup an Azure DevOps pipeline and schedule it for specific time intervals to continuously monitor our system.
First we’ll create a simple script to execute our test and report on the results.
const winston = require('./helpers/winston');
const fileCleanup = require("./helpers/file-helper");
const testHelpers = require("./helpers/element-test-helper");

//remove all old results and logs
winston.info(`--- Cleaning up all old files ---`);
fileCleanup();

// register tests to run
const floodTests = [
  "./floodTests/test.ts",
];

winston.info("--- Starting Flood Element tests ---");

// run tests
testHelpers.runFloodTests(floodTests)
  //log results
  .then(testResults => {
    testHelpers.logResults(testResults);
    return testResults;
  })
  .then(async testResults => {
    await testHelpers.delay(1000);
    const testsPassedSuccessfully = testResults.every(test => test.successful === true)
    testsPassedSuccessfully ? winston.info(`All tests passed successfully!`) : winston.info(`One/All tests passed failed!`);
    winston.info("--- Completed Flood Element tests ---");
    testsPassedSuccessfully ? process.exit(0) : process.exit(1);
});This script will be our entry point which we’ll run using npm. I’ve specifically excluded the helper scripts to focus on the core logic (refer to the GitHub repository for the full code). A few important things to note about this script:
- We use winston.js in order to write the results of our tests into a file. This is important as later we’ll copy this file along with Flood Element artifacts, out of the build agent as an artifact for inspection.
- We setup the script to take an array of Flood Element tests. This allows us to add an arbitrary amount of tests for monitoring.
- We report the status of our tests using
process.exit. This allows us to signal whether the npm command that was executed has passed or failed, which we’ll use for triggering notifications.
Next we’ll setup our npm command to execute the above script. In the scripts section of our package.json file we setup the command pipeline as follows:
{
  ...
  "scripts": {
    "start": "node index.js",
    "pipeline": "node index.js if [ $? -ne 0 ] then exit 1 fi",
    ...
  },
  ...
}
Finally, we setup the Azure pipeline using a .yml file as follows:
# Starter pipeline
# Start with a minimal pipeline that you can customize to build and deploy your code.
# Add steps that build, run tests, deploy, and more:
# https://aka.ms/yaml

variables:
  NODE_ENV: "Production"
  MAX_RETRIES: 3

trigger:
- master

pr: none

schedules:
- cron: "0 */6 * * *"
  displayName: Six Hourly build
  branches:
    include:
    - master
  always: true

pool:
  vmImage: 'ubuntu-latest'

steps:
- task: NodeTool@0
  displayName: "Use Node 10.x"
  inputs:
    versionSpec: 10.x
    checkLatest: true

- task: Npm@1
  displayName: "npm install"
  inputs:
    workingDir: ./
    verbose: false

- task: Npm@1
  displayName: "npm run"
  inputs:
    command: custom
    workingDir: ./
    verbose: false
    customCommand: "run pipeline"
  timeoutInMinutes: 20

- task: CopyFiles@2
  displayName: "Copy files"
  inputs:
    Contents: |
      **/logs/**
      **/floodTests/tmp/element-results/**

    TargetFolder: "$(Build.ArtifactStagingDirectory)"
  condition: succeededOrFailed()

- task: PublishPipelineArtifact@1
  displayName: "Publish artifacts"
  inputs:
    targetPath: "$(Build.ArtifactStagingDirectory)"
    artifact: deploy
  condition: succeededOrFailed()
In terms of execution steps, the pipeline looks as follows:
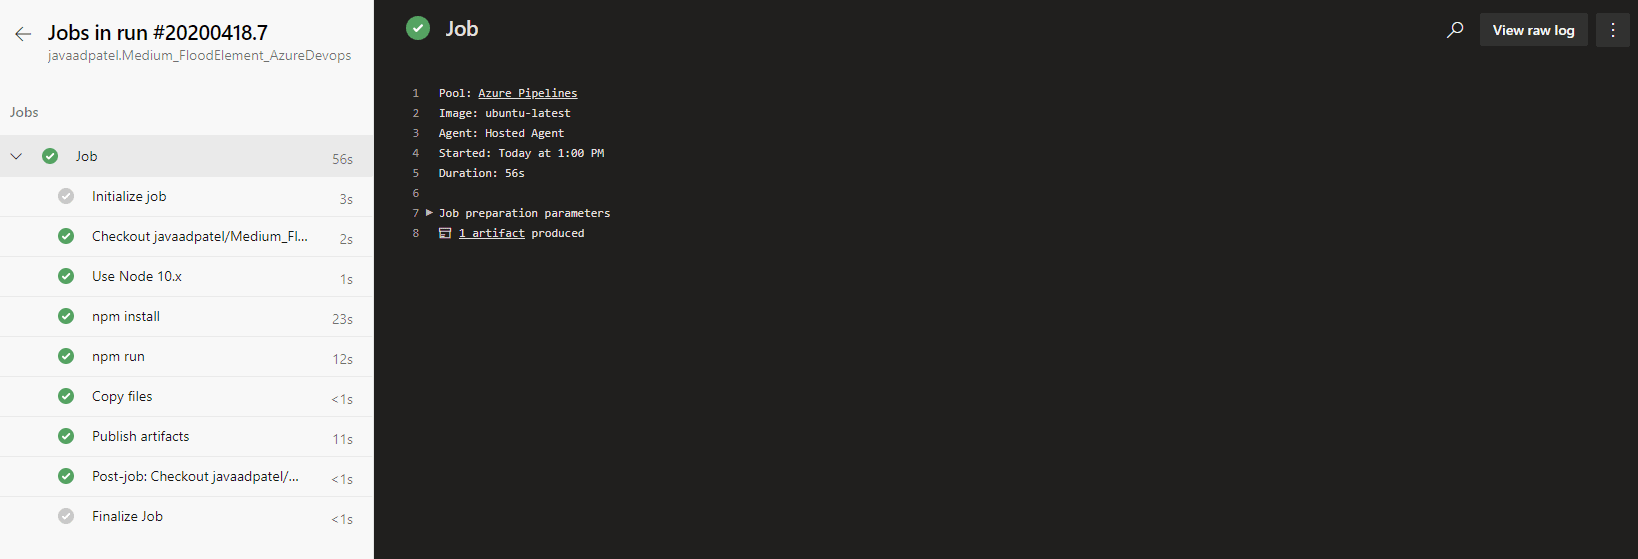
The script performs the following key steps:
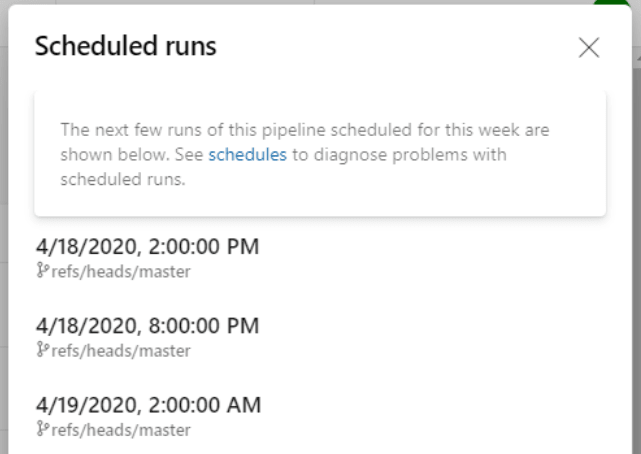
- We setup a schedule using chron syntax as
chron: "0 */6 * * *. This will schedule our pipeline to be executed every six hours, which we can confirm by going to the schedules tab of our pipeline and we should see something like this:
- After installing Node and all our dependencies using npm, we execute our custom defined npm command using
npm run pipeline, which will execute all our Flood Element tests. - As a final step we copy all the files generated from our tests (these include result files and any screenshots taken) as well as our log file, which contains all the information output by our test runs.
We can inspect the results of the tests from the artifacts produced, which should produce something like this.

This artifact will include all the logs written during our test runs as well as all the files produced from Flood Element, in particular, screenshots taken during execution.
At this point we have a fully automated pipeline which we’ll be able to use for continuously testing our production system. But what if we want alerts to be sent when our tests fail?
Setting up Slack and email alerts for failing pipelines
While having this automated testing setup is extremely useful, we need a way to get notified when the tests fail, as we don’t want to sit staring at our Azure DevOps build status the entire day. This is where email and Slack alerts come into play.
Email alerts
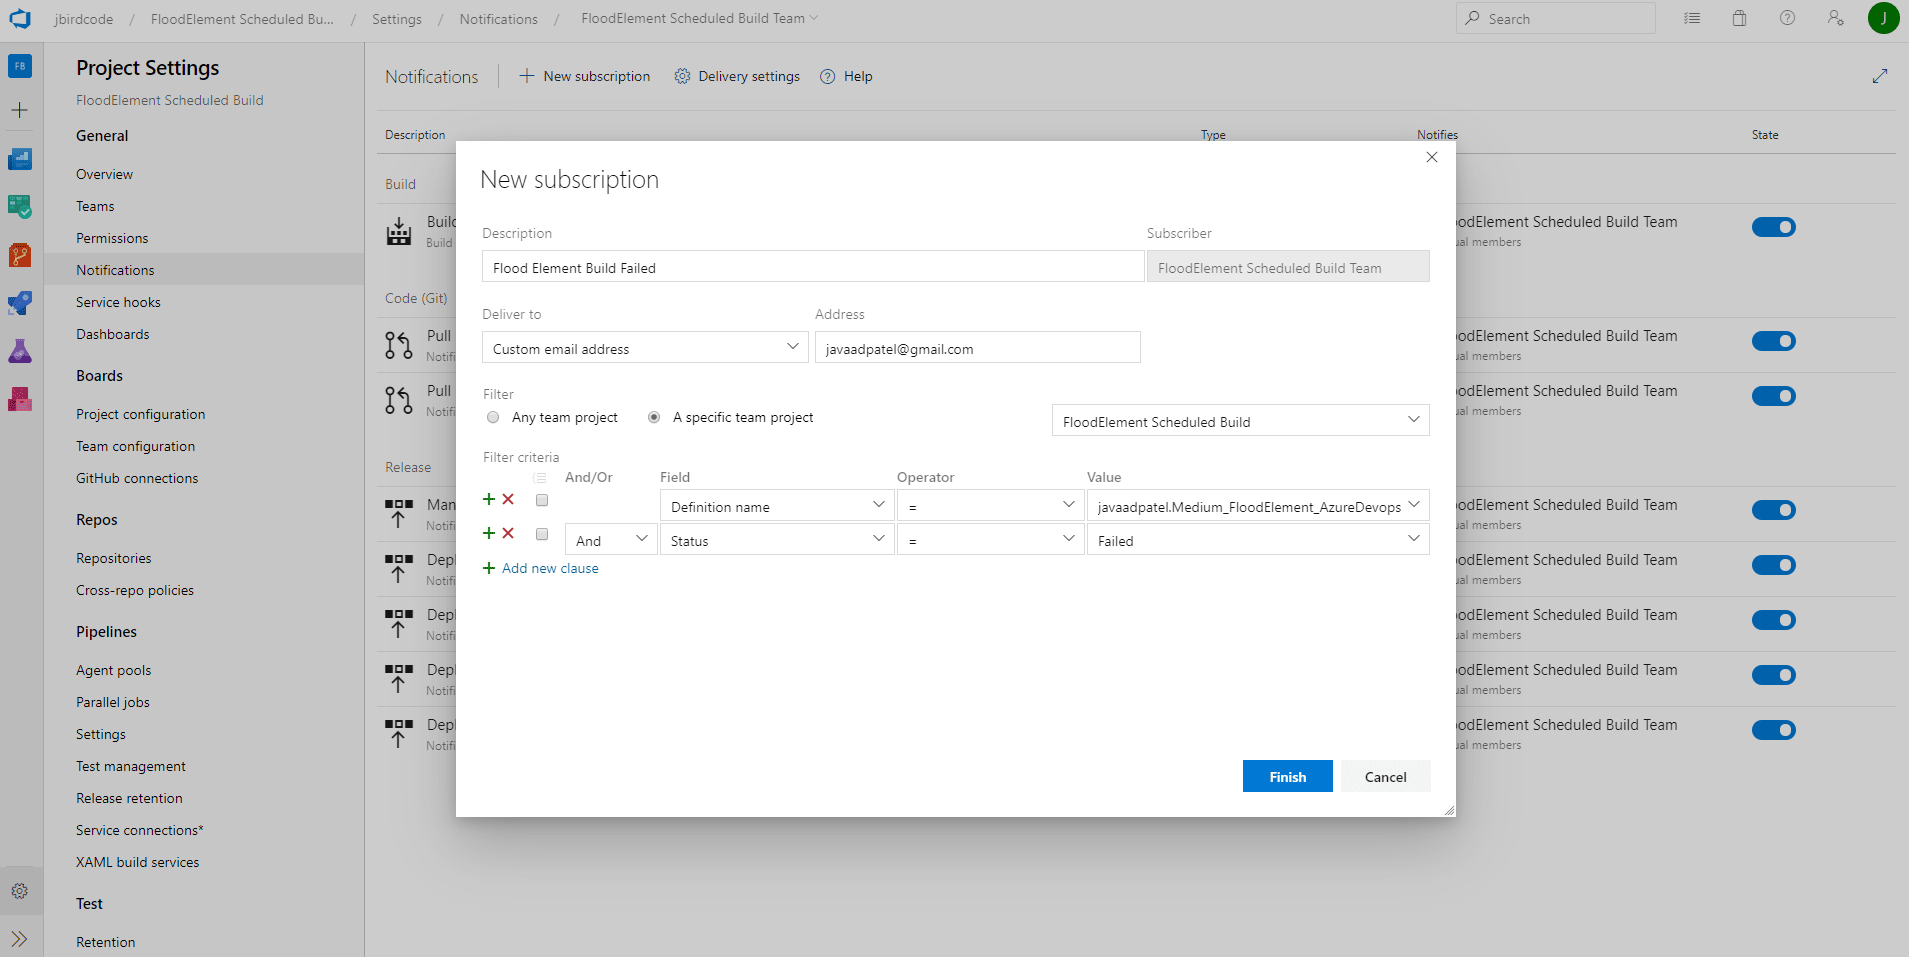
Azure DevOps natively supports email alerts so its simple to setup. Navigate to Project Settings -> Notifications and create a new notification. You can either choose to send to all members of the project or input custom addresses to send to as shown below:
Slack Alerts
Slack alerts can be setup using the Azure Pipelines Slack App.
Detailed instructions for setup can be found here. Then once you have the Slack application setup, you’re able to setup Slack alerts in the channel of your choosing using /azpipelines subscribe https://<Azure Devops Organiszation>/<projectName>/_build?definitionId=<buildDefinitionId> .
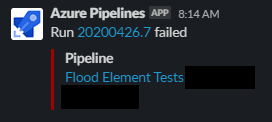
If the build fails you’ll then receive a notification like this:
Conclusion
We’ve now gone through in detail how you can setup continuous monitoring of your Flood Element tests and be immediately alerted using either Slack or email notifications. Hopefully with this you’ll be one step closer to a peaceful production.

