Step-by-step: How to build forms with formik and react
A formik tutorial that shows you how to create a react contact form, complete with netlify functions emailing.

Building forms is one of the most common tasks during web development - it should be fast and effortless but sometimes, that's not the case.
I usually build forms using Redux Form but for a recent landing page I built, this was definitely overkill. That's when I stumbled across Formik. Formik allows you to build forms effortlessly and with first-class integration with Yup - the validation is dead simple.
I'd like to share how I used Formik and Yup to build a contact form for FloodRunner in the hopes that it can give you an idea of how simple form building can be.
You can find the code in the repository below and checkout a demo of the contact page here and below.

Creating the contact form
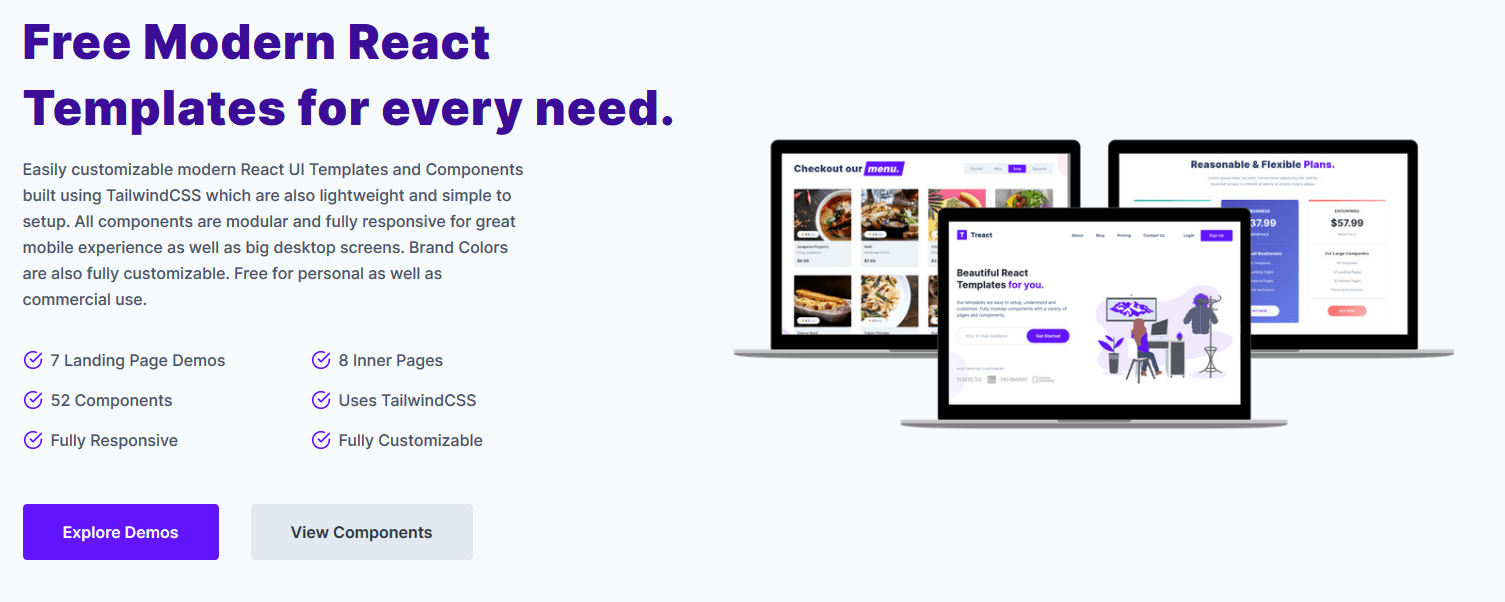
We'll be using Treact for the contact form component. Treact is a free UI framework built with React and TailwindCSS. It offers a suite of slick, fully-built landing pages and a massive amount of components to choose from to customize your landing page.

There's a simple getting started guide on using Treact which you can read. If you'd like to follow along, you can checkout the starter branch of my repository using
git clone https://github.com/javaadpatel/react-contact-form.git
git checkout starter
After installing all dependencies using yarn install you'll be able to start the project using yarn start and you should then see the contact form.
Using Formik
Now that we have a fully styled contact form we can move onto using Formik to handle the form input and submission.
 <Formik
      initialValues={{
        Email: "",
        FullName: "",
        Subject: "",
        Message: "",
      }}
      ...
      render={({ errors, handleSubmit, isSubmitting, getFieldProps }) => (
        <Container id={id}>
          <TwoColumn>
            <ImageColumn>
              <Image imageSrc={EmailIllustrationSrc} />
            </ImageColumn>
            <TextColumn textOnLeft={textOnLeft}>
              <TextContent>
                {subheading && <Subheading>{subheading}</Subheading>}
                <Heading>{heading}</Heading>
                {description && <Description>{description}</Description>}
                <Form loading={isSubmitting} onSubmit={handleSubmit}>
                  <Input
                    id="Email"
                    label="Email"
                    name="Email"
                    placeholder="Your Email Address"
                    {...getFieldProps("Email")}
                  />
                  ... //rest of fields ommitted
                  <SubmitButton
                    type="submit"
                    loading={isSubmitting}
                    disabled={isSubmitting || !_.isEmpty(errors)}
                  >
                    Send
                  </SubmitButton>
                </Form>
              </TextContent>
            </TextColumn>
          </TwoColumn>
        </Container>
      )}
    />
Formik comes with a React component <Formik /> so we basically wrap our existing form, returning it in the render method of component.
We then specify the initial values for our fields using the initialValues object so that our form is properly initialized. We bind the required form events using the {...getFieldProps("Email")}. This, along with the name property, allows Formik to automatically control our form fields.
Our <Submit /> button receives the isSubmitting and errors properties which allow us to prevent sending when there are errors or when the form is already busy sending. These two properties are automatically controlled by Formik.
Email Sending
In order to actually send emails we add a onSubmit property to the <Formik /> component as shown below
onSubmit={async (values, actions) => {
        actions.setSubmitting(true);

        //send request
        try {
          const emailFunctionUrl = "http://localhost:3005";
          const data = `Email=${values.Email}&FullName=${values.FullName}&Subject=${values.Subject}&Message=${values.Message}`;

          await axios.post(
            `${emailFunctionUrl}/.netlify/functions/server/sendEmail`,
            data,
            {
              headers: {
                "Content-Type": "application/x-www-form-urlencoded",
              },
            }
          );
        } catch (err) {
        } finally {
          actions.resetForm();
          actions.setSubmitting(false);
        }
}}We start by setting the isSubmitting property using actions.setSubmitting(true) which prevents someone from double submitting. We then send a POST request to our email function, which is a simple Netlify serverless function that is integrated with SendInBlue. The code for the function can be found in the repository below and a blog post about creating serverless functions can be found here.
Finally, we reset the form using actions.resetForm() to clear the previously entered fields and set isSubmitting to false so that users can submit once again.
But what about validation?
Formik has built-in integration with a powerful validation library called Yup. Yup has tons of built in validations and its extremely easy to create your own validation logic. To add validation we simple add a validtionSchema property to your <Formik /> component as shown below
validationSchema={yup.object().shape({
        Email: yup
          .string()
          .email("Invalid email address")
          .required("Email is required"),
        FullName: yup.string().required("Name is required").max(50),
        Subject: yup.string().required("Subject is required").max(50),
        Message: yup.string().required("Message is required").max(200),
      })}
Yup uses a builder pattern so it's easy to specify the required validations for each of our fields.
When any of these validations fail, Formik automatically populates the errors object with the relevant error messages and we can easily display these errors using the <ErrorMessage /> component provided by Formik as shown below
<ErrorMessage name="Email" />We simply specify the name of the field we would like to show errors for and then any errors for this field will be shown.
A little more magic
That's it. We're done building our form, nothing more to it.
If you'd like to add a little UI interaction, you can import the react-spinners-css package and modify your <SubmitButton /> component as shown below
 <SubmitButton
    type="submit"
    loading={isSubmitting}
    disabled={isSubmitting || !_.isEmpty(errors)}
        >
            {isSubmitting ? (
             <>
             <Ellipsis
             color="#f7fafc"
             size={40}
    style={{ position: "absolute" }}
    />
    Sending
        </>
    ) : (
        "Send"
    )}
 </SubmitButton>
This will give our users feedback while the form is submitting so that they have a satifying experience.

What will you build?
Now that you've got a better understanding of how to easily create forms in React using Formik and Yup, what will you be build?
Please leave me a comment and let me know what you think about Formik and Yup or what you're planning to build next.

